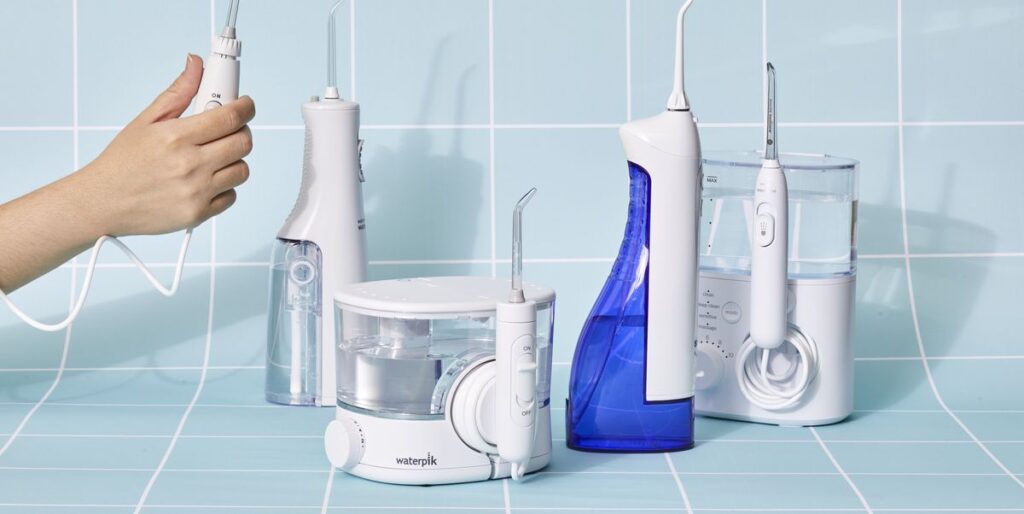
How to Clean Your Waterpik
A Waterpik is an excellent tool for maintaining oral hygiene, helping you remove plaque and food particles from hard-to-reach places. But like any other appliance, it needs regular cleaning to function properly and remain sanitary. Over time, mineral deposits, bacteria, and mold can accumulate, affecting its performance and hygiene. Cleaning your Waterpik is simple, and doing so regularly will help ensure its longevity and effectiveness.
Why Clean Your Waterpik?
Just like toothbrushes and other oral care tools, a Waterpik comes into contact with bacteria, debris, and water. When not cleaned regularly, it can harbor harmful germs and become less effective. Plus, mineral buildup from water can clog the unit, affecting water flow and performance. Routine cleaning will help:
- Prevent bacterial buildup
- Ensure optimal water flow
- Increase the lifespan of the device
How Often Should You Clean Your Waterpik?
- Daily: Empty the water reservoir and dry it out after every use to avoid bacterial growth and mineral buildup.
- Weekly: Perform a thorough cleaning to remove any accumulated deposits or bacteria.
- Every 1-3 months: Deep-clean the Waterpik to remove any deep-seated residue or buildup in the internal parts.
What You’ll Need:
- White vinegar
- Mild dish soap
- Soft cloth or sponge
- Toothbrush
- Paper towel or soft drying cloth
- Warm water
Step-by-Step Cleaning Guide
1. Clean the Water Reservoir
The water reservoir is the most critical part to clean regularly since it holds the water that will be flushed through the device.
- Daily cleaning: After each use, empty the reservoir and rinse it thoroughly. Use a soft cloth to wipe it dry.
- Weekly cleaning: Remove the reservoir from the unit and wash it with warm water and mild dish soap. You can use a sponge or soft cloth to scrub the inside to remove any residue.
- Monthly cleaning: Soak the reservoir in a mixture of half water and half white vinegar for 5-10 minutes. This will help dissolve any mineral deposits. After soaking, rinse it thoroughly and dry it with a clean cloth.
2. Clean the Tip
The tips or nozzles of the Waterpik can become clogged with minerals or bacteria over time, so it’s essential to clean them regularly.
- Remove the tip from the handle.
- Soak the tip in a small cup filled with white vinegar for 5-7 minutes to remove any deposits or bacteria.
- Use a toothbrush to scrub the tip gently, focusing on the area around the nozzle.
- Rinse it under warm water and let it dry before reattaching.
3. Clean the Handle and Hose
Dirt and bacteria can accumulate around the handle and hose, so it’s good to clean these areas as well.
- Wipe the handle with a damp cloth or sponge dipped in a mixture of mild dish soap and warm water. Avoid getting water inside the handle.
- Rinse the hose by running water through it to remove any deposits that might affect water flow.
- Dry the handle and hose with a soft cloth or paper towel.
4. Clean the Base
The base of the Waterpik houses the motor, so it should never be submerged in water. However, you can still clean it carefully.
- Unplug the unit before cleaning.
- Wipe the exterior of the base with a soft, damp cloth to remove any dust, residue, or splashes of water.
- Use a toothbrush to clean hard-to-reach areas or small crevices.
- Dry thoroughly with a soft cloth.
5. Deep Clean the Entire Unit
Every 1-3 months, perform a deep cleaning to ensure the entire unit is free of any mold, mineral deposits, or bacteria.
- Fill the reservoir with a mixture of equal parts white vinegar and warm water.
- Run the Waterpik through a full cycle, allowing the solution to flush through the handle and hose.
- Afterward, fill the reservoir with clean, warm water and run another cycle to rinse out any remaining vinegar solution.
- Wipe down the unit with a clean cloth.
Tips for Maintenance
- Use distilled water if you have hard water, as it will prevent mineral buildup.
- Store in a dry area to avoid moisture buildup in the reservoir.
- Replace tips regularly: Waterpik recommends replacing the tip every 3-6 months for optimal performance.
Cleaning your Waterpik regularly is essential for maintaining both your oral hygiene and the longevity of your device. By following these simple steps, you can ensure that your Waterpik remains efficient and bacteria-free, providing you with the best cleaning experience possible. With proper care, your Waterpik will continue to be a reliable tool in your oral care routine for years to come.
